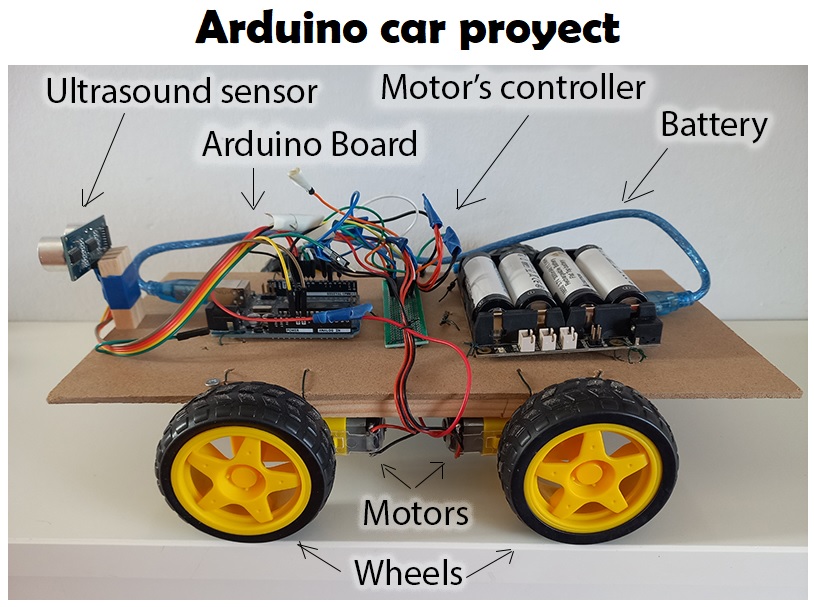
Arduino Car Proyect
How to build a car with arduino that detects obstacles
- Introduction
- Materials
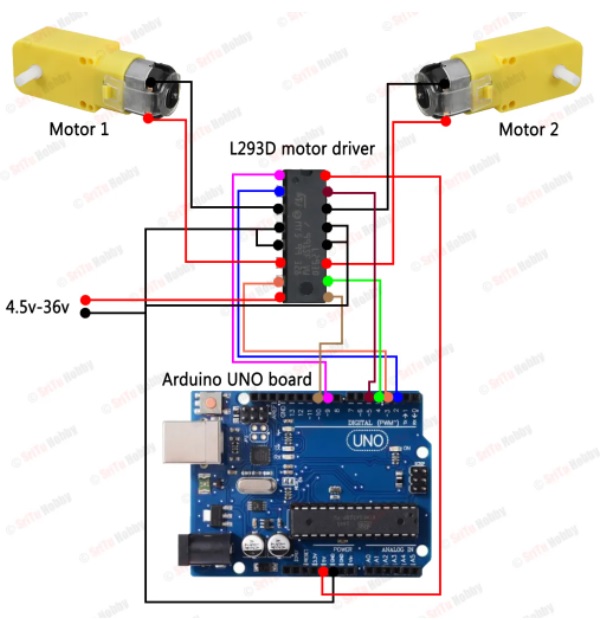
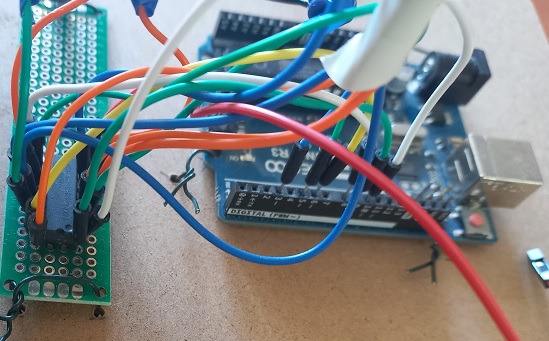
- Connect the motor controller, Arduino and the motors.
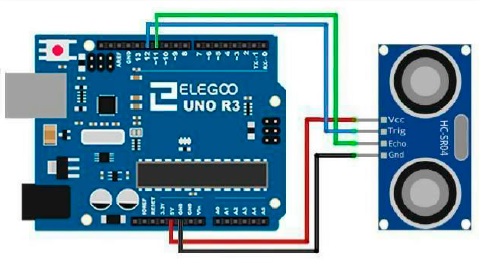
- Connect the ultrasounds Sensor to arduino
- Assembling the components
- Program Arduino
- Congratulations !!!
Tip: Get fun!!
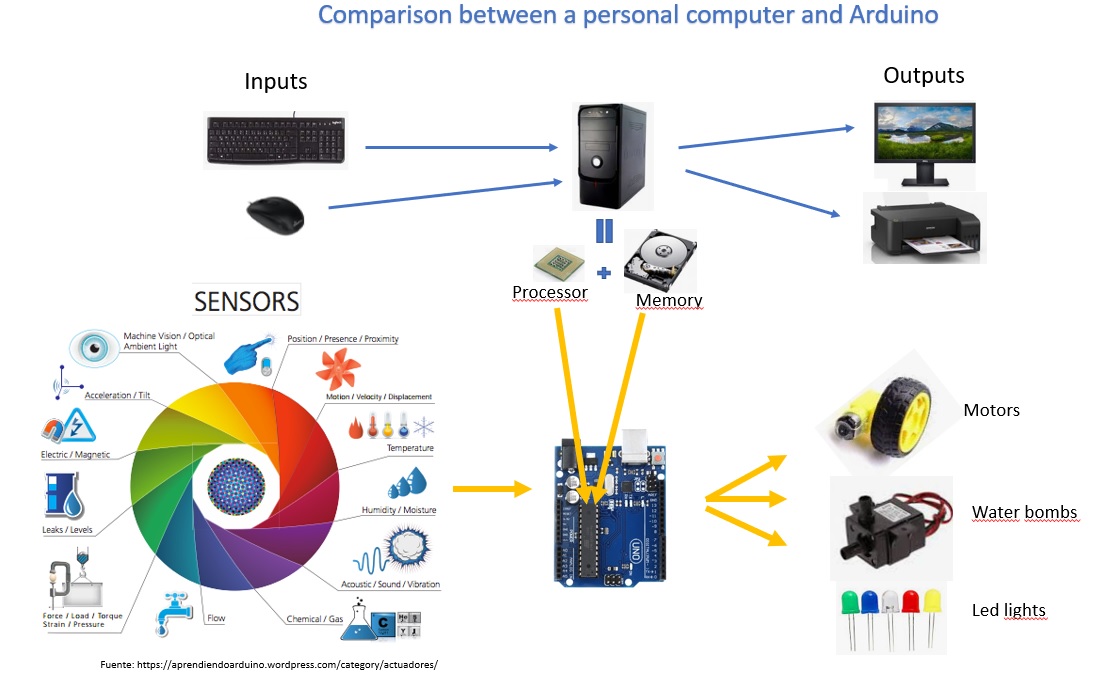
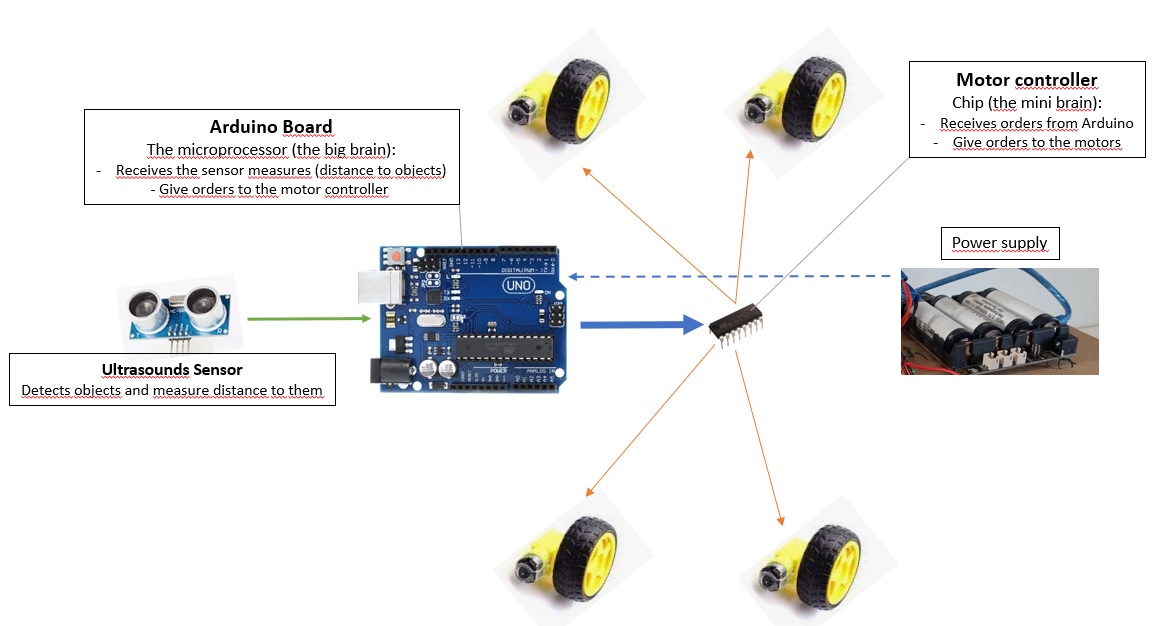
- Ultrasounds Sensor gives the distances of objects in front of the car
- The microprocessor (Arduino) receives the distances from the sensor:
- If there is no object continues moving forward
- If there is an object in front turns left to avoid it
- The microprocessor (Arduino) gives the order to motor controller and the controller order to the wheels to move
Important: Watch the car in action!!
Materials
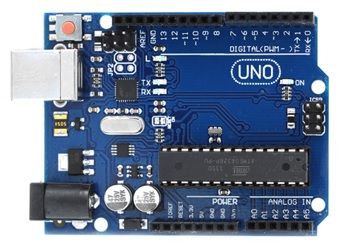
- Arduino UNO R3 - basic kit : 23.99 €
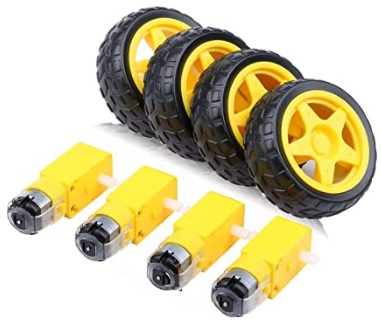
- Wheels and motors kit : 21.00 €
- DC motor controller (L293D): 1.60 €
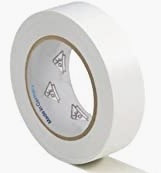
- Electrical insulation tape
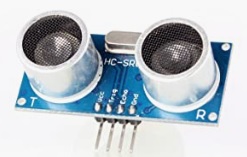
- Ultrasounds Sensor HC-SR04 - 2.70 €
- 5 V Power Supply
- Chipboard sheets for crafts : 7.37 €

- PC with Arudino IDE installed
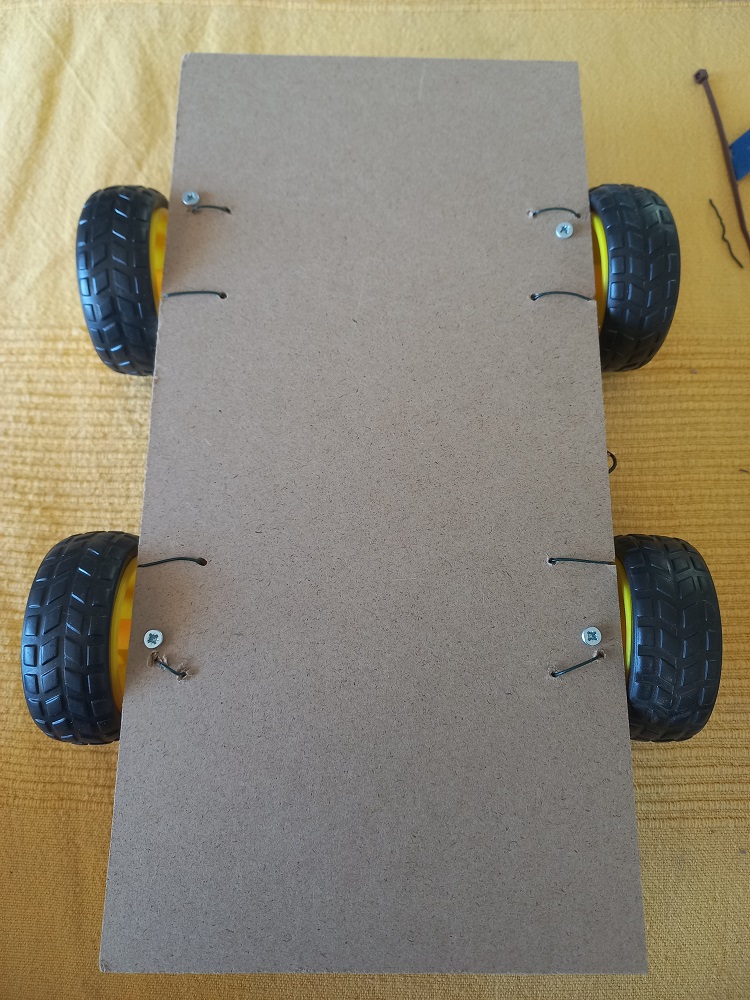
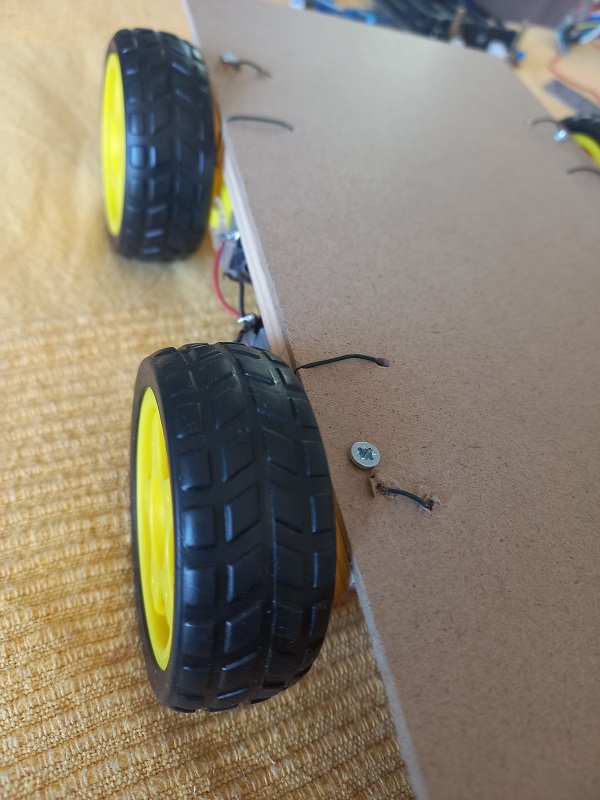
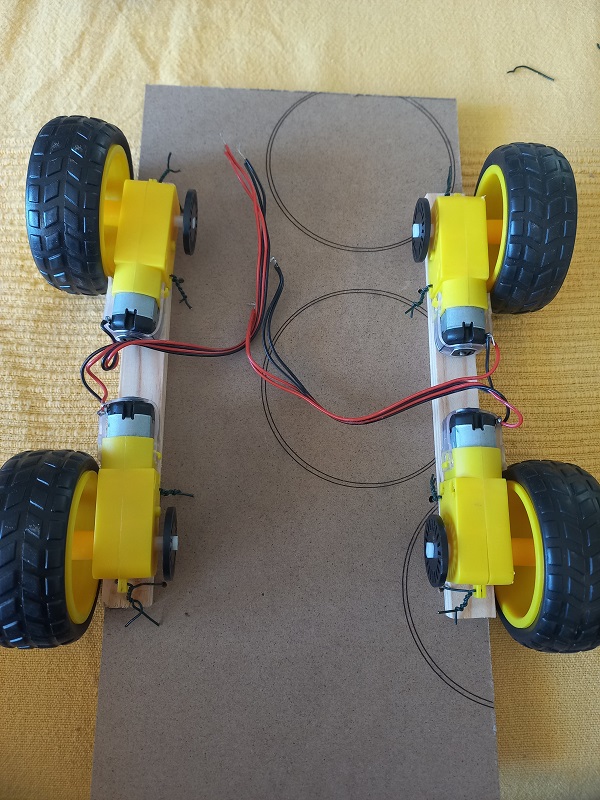
- Attach the power bank
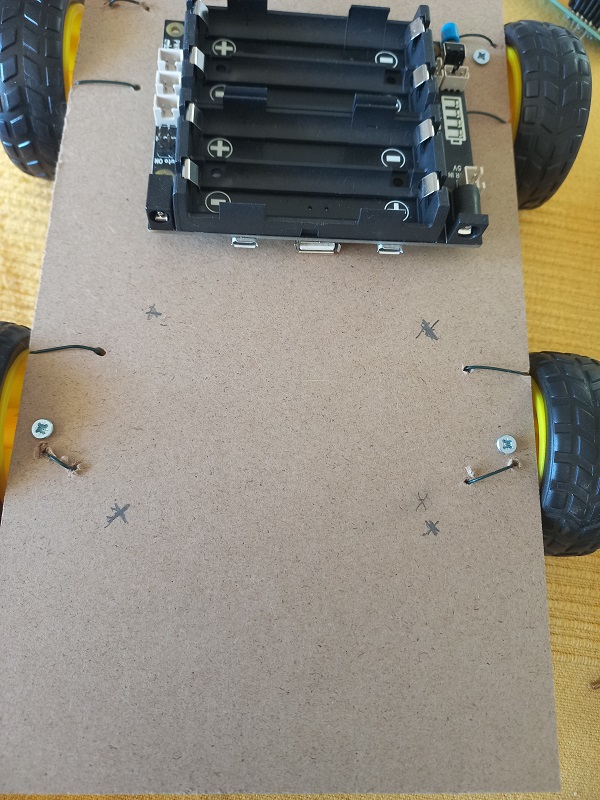
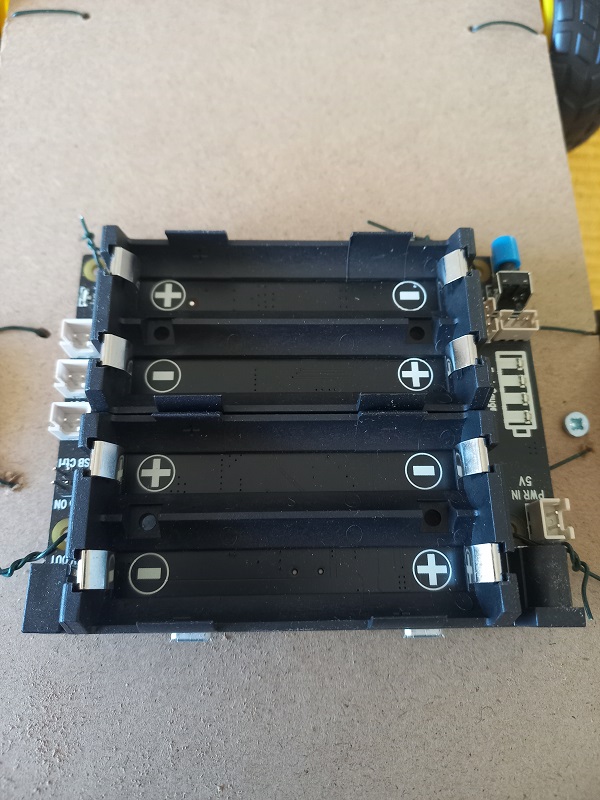
- Attach the motor controller
- Attach Arduino UNO microcontroller board
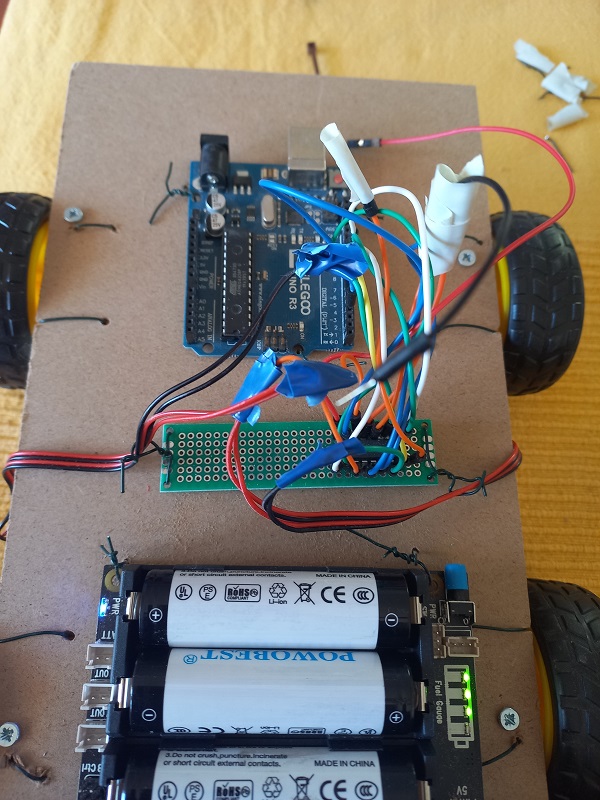
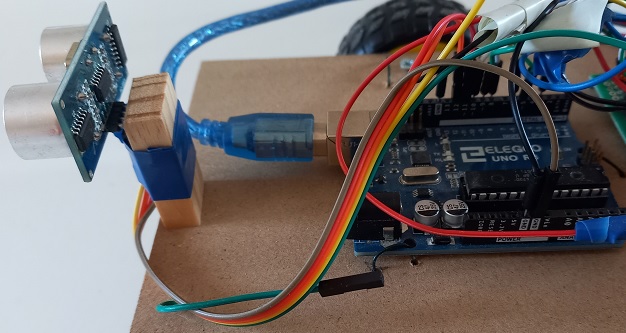
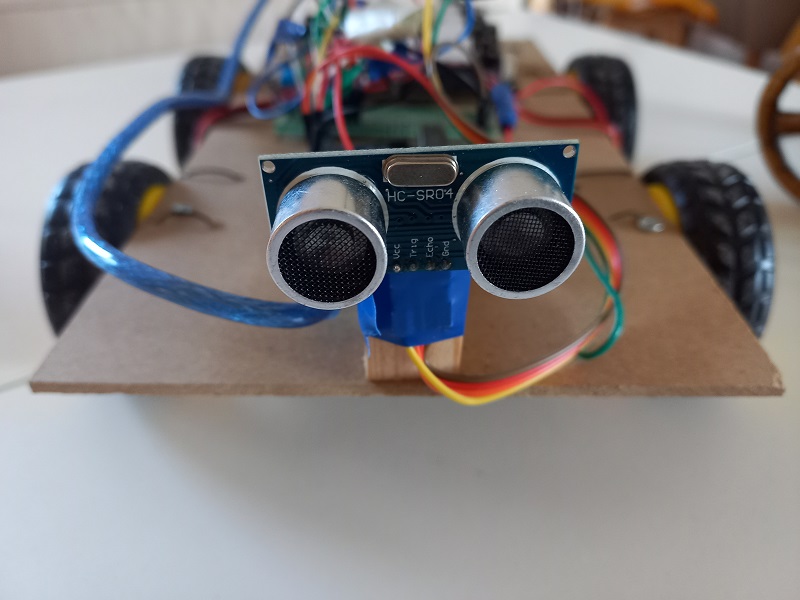
- Attach the ultrasounds Sensor in front of the car
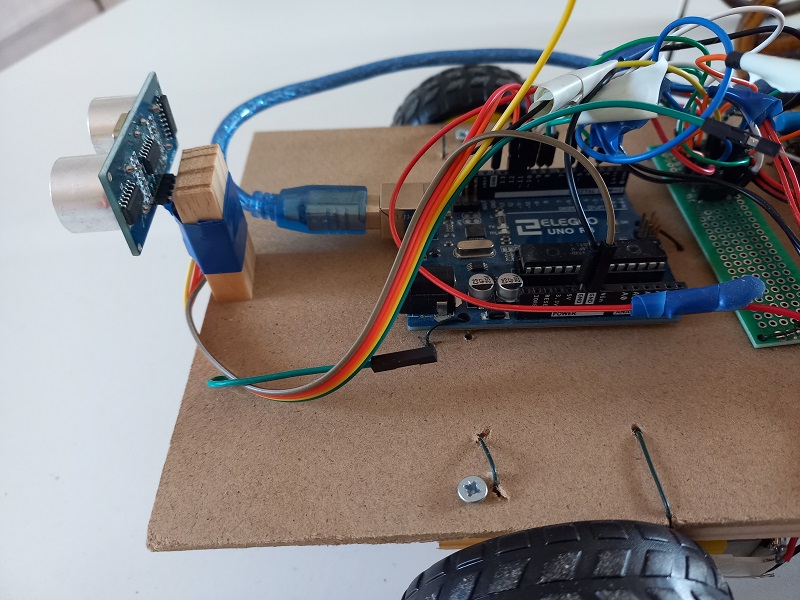
Programming basics:
The computer executes instructions one after the other. I1 -> I2 -> I3 ....
Each instruction ends with ";"
To store information use:
- Constants: its value does not change (for example: const int pinIqda = 9;)
- Variables: its value changes over the time (for example: int distancia=0; distancia= distancia + 2 )
There are two main parts (funtions) in Arduino:
- Setup(): it runs only once at start
- Loop(): it repeats endlessly
Use "//" to write comments in the code Use "{ }" to build a set of instructions
Control the program flow: IF

Other usefull functions:
- pinMode (1, OUTPUT) or pinMode (1, INPUT) : sets a arduino pin to receive inputs o give outputs
- analogWrite or digitalWrite: sends information throught pins
- Serial.print : writes something in the monitor
- delay(1000) : makes the program to wait 1000 miliseconds.
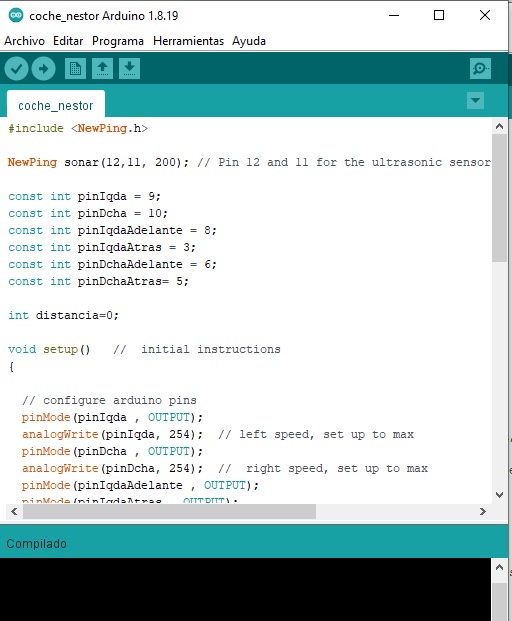
Now, write the code in Arduino IDE.
- Check if the code is ok: press

-
Conect Ardunio and the computer with USB
-
Transfer the code to Arduino: press

NewPing sonar(12,11, 200); // Pin 12 and 11 for the ultrasonic sensor and with a maximum distance of 200cm

const int pinIqda = 9;
const int pinDcha = 10;
const int pinIqdaAdelante = 8;
const int pinIqdaAtras = 3;
const int pinDchaAdelante = 6;
const int pinDchaAtras= 5;

int distancia=0;

void setup()   //  initial instructions
{

  // configure arduino pins
  pinMode(pinIqda , OUTPUT);
  analogWrite(pinIqda, 254);  // left speed, set up to max
  pinMode(pinDcha , OUTPUT);
  analogWrite(pinDcha, 254);  //  right speed, set up to max
  pinMode(pinIqdaAdelante , OUTPUT);
  pinMode(pinIqdaAtras , OUTPUT);
  pinMode(pinDchaAdelante , OUTPUT);
  pinMode(pinDchaAtras , OUTPUT);

  Serial.begin(9600); // show ping meassures

  // start the engines
  digitalWrite(pinIqdaAdelante ,HIGH);
  digitalWrite(pinIqdaAtras , LOW );
  digitalWrite(pinDchaAdelante , HIGH);
  digitalWrite(pinDchaAtras ,LOW);

}

void loop()    // Instructions that repeat themselves endlessly
{
  delay(1000);  // wait 1000 miliseconds between ping
  distancia=sonar.ping()/ US_ROUNDTRIP_CM;

  Serial.print("Ping: ");
  Serial.print(distancia); //
  Serial.println("cm");

  if (distancia>2 && distancia<50  ) {  // turn left
    digitalWrite(pinIqdaAdelante ,LOW);
    digitalWrite(pinIqdaAtras, HIGH );
    digitalWrite(pinDchaAdelante , HIGH);
    digitalWrite(pinDchaAtras , LOW);
    delay(3000);   // wait 3 iseconds to turn left

  }

    if (distancia>=50  ){       //   go forward
    digitalWrite(pinIqdaAdelante ,HIGH);
    digitalWrite(pinIqdaAtras , LOW );
    digitalWrite(pinDchaAdelante , HIGH);
    digitalWrite(pinDchaAtras ,LOW);
 }
}
